PersonalizedKnits
Personalized Knits for Infants and Children
Announcement
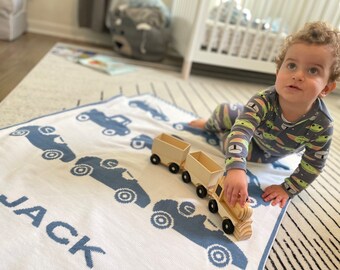
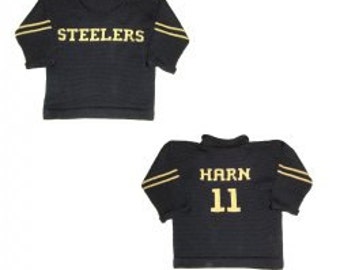
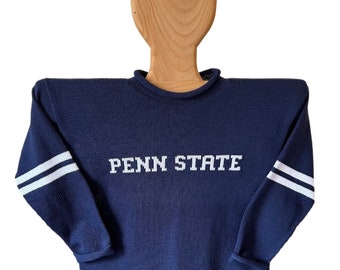
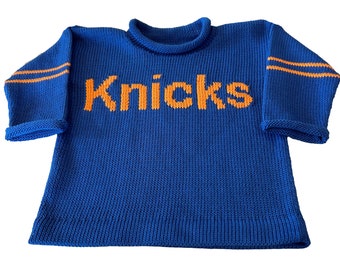
Newborn Baby Clothers, Personalized Baby Gifts, Custom Knit Baby Sweaters
Featured items
Items


All Items


Reviews
-

-
-
Maureen on 28 Apr, 2024
5 out of 5 starsI love the quality of this sweater. Received on time..Very impressed. Will order again. Thank you!
-
-

Snova on 03 May, 2024
5 out of 5 starsMy sweater turned out perfectly! This is such a beautiful piece that is exquisitely knitted exactly as I requested. Colleen communicated with me about sweater size and letter sizing and got me the perfect result. I'm so happy with it. Can't wait to get another one!
-
-

clarepond on 29 Apr, 2024
5 out of 5 starsThe sweater is high quality and absolutely adorable! Used for an announcement and will continue to use for monthly milestone pictures as she grows into the 12 month size.
-

ShopPumpkinhead on 27 Apr, 2024
5 out of 5 starsI ordered this as a keepsake and plan to do this with all future children. It’s too cute!!! So well made. I just about cried unboxing it!
-
orchidsk on 24 Apr, 2024
5 out of 5 starssuch a cute gift!! high quality item and great customer service
-


About PersonalizedKnits
-
 We use a linking machine to join the seams on our items. This produces a nice, professional looking seam.
 -
 Here is an example of the yarn we use to produce our garments. We order our yarn from a dye house 100 lbs per color.
 -
 Here is a garment hanging on the knitting machine ready to have me bind off some stitches and knit some more.
 -
 Here is a closeup of how the linking machine works. I hang each stitch onto the pegs and chain stitch the closure.
 -
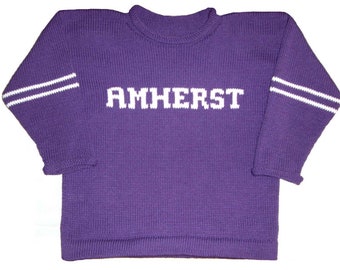
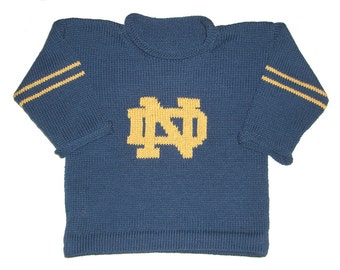
 This is the Amherst Alumni Sweater that we explained above step by step directions.
Specializing in Personalized Knitwear for Babies and Children for over 25 Years.
Shop policies
Delivery
Customs and import taxes
Payment options
Returns & exchanges
Cancellations
Cancellations: accepted
Request a cancellation: within 5 days of purchase
More information
Frequently asked questions
Gift wrapping and packaging
We offer Free Gift Wrapping with Custom Greeting Card